iStoreOS 安装 OpenClash 完整指南 🔧 🌐 OpenClash 是 OpenWrt 系统上功能强大的代理客户端,支持多种代理协议,
iStoreOS 安装 OpenClash 完整指南 🔧
🌐
OpenClash
是 OpenWrt 系统上功能强大的代理客户端,支持多种代理协议,提供丰富的流量控制功能。
📋 目录导航
🚀 一、安装 OpenClash
1
2
3
4
5
6
7
8
|
# 🛡️ iptables 防火墙依赖安装(`iStoreOS`)
opkg update && opkg install bash iptables dnsmasq-full curl ca-bundle ipset ip-full iptables-mod-tproxy iptables-mod-extra ruby ruby-yaml kmod-tun kmod-inet-diag unzip luci-compat luci luci-base

# wget 下载 ipk 文件
wget -O /tmp/openclash.ipk https://github.com/vernesong/OpenClash/releases/download/v0.47.028/luci-app-openclash_0.47.028_all.ipk

# 通过 opkg 安装下载的 ipk 文件
opkg install /tmp/openclash.ipk
|
🐳 二、Docker 添加代理
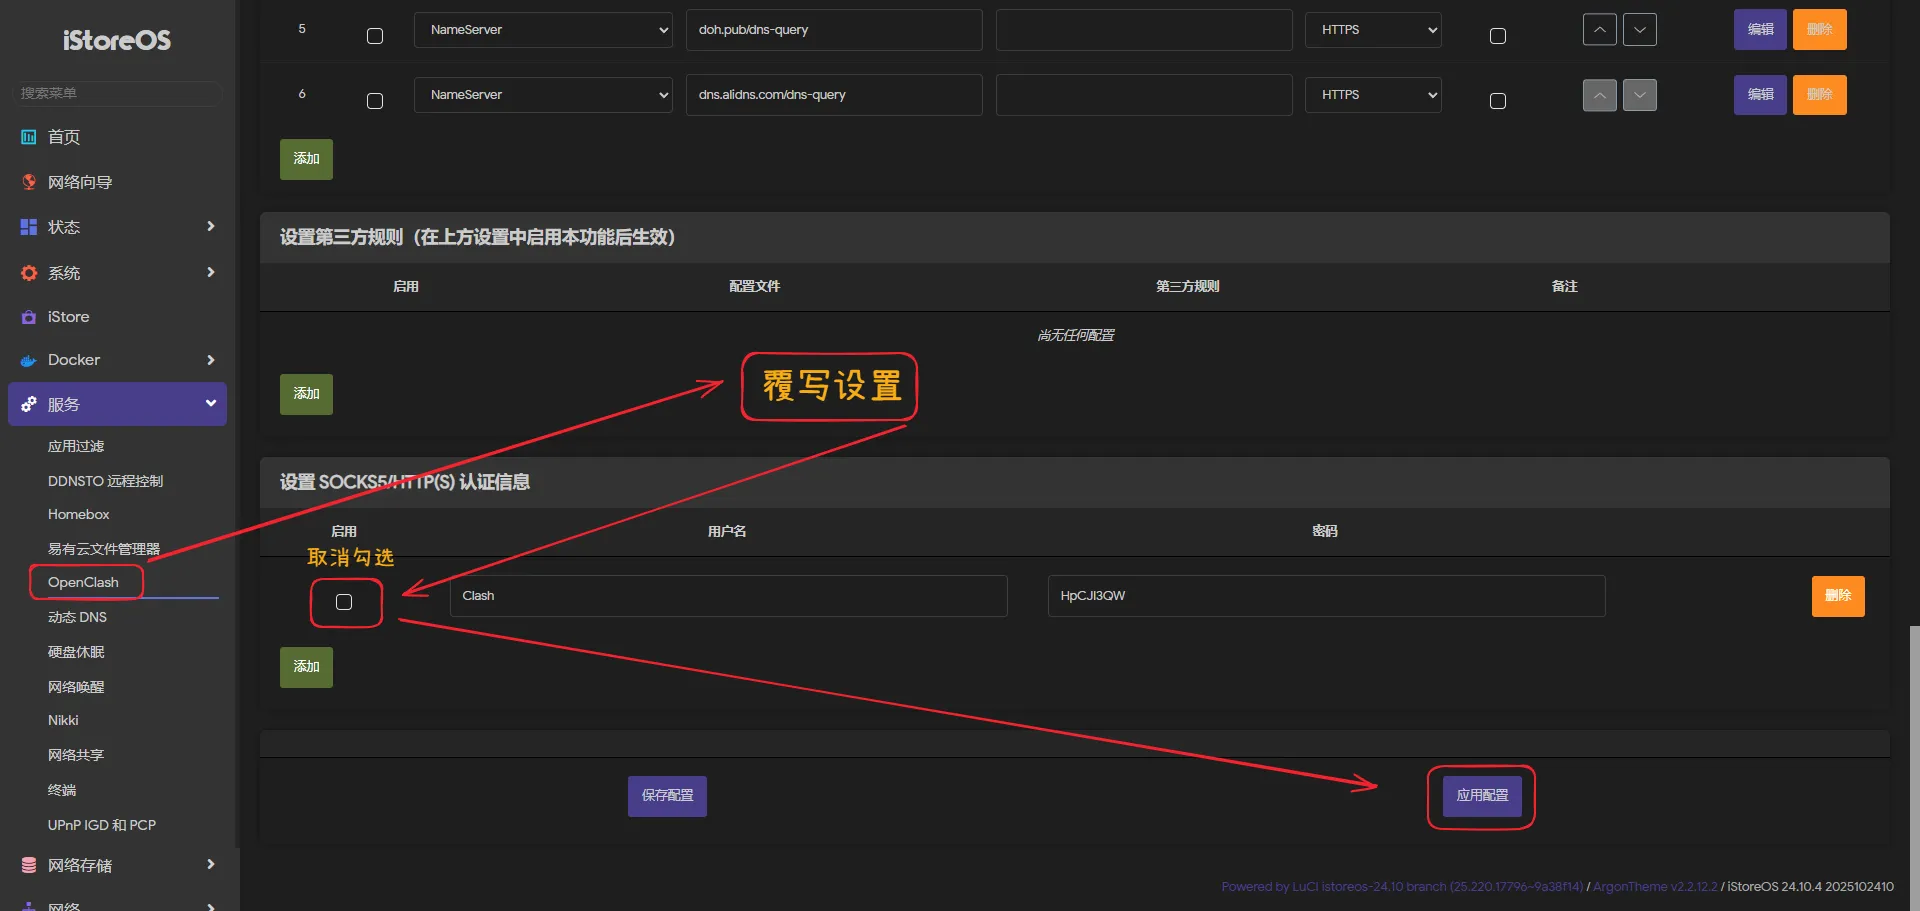
⚙️ 1. OpenClash 配置
🐋 2. docker-compose.yml 配置
 1
 2
 3
 4
 5
 6
 7
 8
 9
10
11
12
13
14
15
16
17
18
19
|
services:
  cloudsaver:
    image: jiangrui1994/cloudsaver:latest
    container_name: cloud-saver
    network_mode: bridge
    restart: on-failure
    ports:
      - 8008:8008
    volumes:
      - ./cloudsaver/data:/app/data
      - ./cloudsaver/config:/app/config
    environment:
      - http_proxy=http://10.10.10.252:7893
      - https_proxy=http://10.10.10.252:7893
      - HTTP_PROXY=http://10.10.10.252:7893
      - HTTPS_PROXY=http://10.10.10.252:7893
      - no_proxy=localhost,127.0.0.1,172.17.0.0/16
      - NO_PROXY=localhost,127.0.0.1,172.17.0.0/16
      # 如果代理需要认证,格式应为:http://用户名:密码@10.10.10.252:7893
|
⚠️ 三、注意事项
1. 🔒 系统兼容性
- ✅ 确认 OpenWrt 版本与 OpenClash 兼容
- 📦 检查系统架构(x86、ARM、MIPS等)
- 💾 确保有足够的存储空间(至少20MB空闲)
2. 🌐 网络要求
- 🔄 安装过程中需要稳定的网络连接
- 🌍 部分依赖需要访问外部软件源
- ⏱️ 下载时间可能较长,请耐心等待
3. 🛠️ 常见问题解决
1
2
3
4
5
6
7
8
|
# 如果安装失败,尝试更新软件源
opkg update

# 检查依赖关系
opkg check-dependencies luci-app-openclash

# 查看安装日志
logread | grep openclash
|
4. 📋 安装后配置
-
🚀 首次启动:
1
2
3
4
5
|
# 启动 OpenClash 服务
/etc/init.d/openclash start

# 设置开机自启
/etc/init.d/openclash enable
|
-
🌐 Web 界面访问:
- 登录 Luci 界面
- 在"服务"菜单中找到 OpenClash
- 进行节点配置和规则设置
-
📁 配置文件:
- 主配置文件:
/etc/config/openclash
- 规则目录:
/etc/openclash/
5. 🆘 故障排除
如果遇到问题:
- 🔍 检查日志:
logread | grep clash
- 🔄 重启服务:
/etc/init.d/openclash restart
- 📋 验证配置:
/etc/init.d/openclash check
- 🗑️ 重新安装:先卸载再重新安装
🎯 完成安装检查清单
💡 提示:安装完成后建议重启 OpenWrt 系统以确保所有组件正确加载:
通过以上步骤,您应该能够成功在 OpenWrt 上安装和配置 OpenClash,享受更加自由和安全的网络体验! 🌐🚀